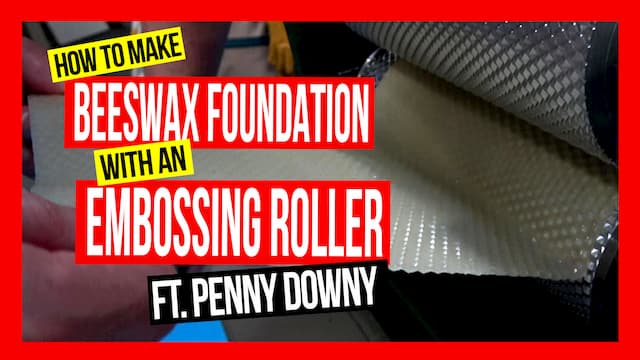
How to Make Beeswax Foundation with an Embossing Roller
featuring Penny Downy
In this video, Penny shows how beekeepers can use their own beeswax to produce foundation. With the right tools and methods it becomes a must see for any beekeeper, especially amateur beekeepers wanting to utilise their wax cappings and beeswax blocks.
It takes bees the energy equivalent of about 8 grams of honey to make just 1 gram of beeswax. So it’s no surprise, beeswax is a precious commodity. And making beeswax foundation sheets from your own beeswax is not only a smart way to conserve this precious resource, it’s also a guarantee your foundation contains only pure beeswax.
At a particular age, bees produce beeswax from four pairs of special glands in their abdomens. To produce the wax, the bees must engorge themselves with honey to produce scales of beeswax. Not only is pure beeswax a food grade wax, it has been used for centuries as a lubricant, waterproofing agent, polish, leather conditioner, cosmetic, and candles. To a beekeeper, beeswax is traditionally used to produce foundation for the bees to draw out and build their honeycomb. So it plays a very much needed role in every beehive.
Chapters:
00:00 opener
00:14 how to make beeswax foundation intro
01:19 what you will need
02:15 the process
03:55 preparing and using the wooden paddle
04:50 preparing the beeswax roller
05:34 trimming the beeswax foundation sheet
06:15 weighing the finished beeswax sheets
06:20 conclusion
Video Transcript Presented by Penny Downy
Today, we’re going to make wax foundation with a manual roller. And we’ve got some beeswax that we’ve melting. We’re going to make these sheets. This is a bit of a process and it’s taken us a little while to work out the proper method. We’ve done a few sheets and now we’re getting about 15 sheets to the kilo of wax which is pretty good.
It’s a good idea to make your own foundation. Beeswax foundation is becoming quite expensive so it’s a good way of cutting the cost of replacing the foundation in your hives. Also you know that it’s proper beeswax that’s being used in your hive with a low risk of diseases being introduced into your hive if you’re using your own beeswax.
We discovered that it was easier to do it with two or three people in the process. I think once you got a little better at it, you could probably do it by yourself. But it is definitely easier if you have some help.
Some equipment we have is a bain-marie with a thermostat controlled element in it, between 70 and 80 degrees is a good temperature to melt the beeswax.
We’ve got a hot water bath here which is just hand hot. It’s not too hot so that that’s where we can wash the paddle in and the wax comes away from the wooden paddle.
The wooden paddle is made from hardwood and it’s been soaking in the water for a couple of hours. And of course you need your own beeswax. This is some beeswax that we’ve processed, then filtered it and made it into a block. We know it comes from our hives and it is genuine 100 percent good quality beeswax.
We have a bain-marie here set up with some water in the bottom of it and then we melt the wax in the top we’re putting it at about 80 degrees on the temperature gauge here you don’t want it to boil so it just needs to kind of be off the boil. And it does make a difference. If it’s too hot you get the sheets are too thin and if it’s too cold they become very thick so it is a little bit of adjusting until you get the right temperature.
We’ve got a water bowl with some soap and suds in it to use on the roller. And this is our embossing roller. It’s really really heavy. Purpose built for making the foundation comb. It’s got the pattern here.
We’ve set up a bit of a guide just to help roll the wax sheets through. You do need to use the suds on the roller as you’re going through. We’ve discovered it helps the wax sheets to come off better. We would need to clamp it or some way attach it to the table because it is does slip a little.
We’ve got a cutting mat here which we used to lay the wax foundation sheets on and a board here which is the right size so that we’re cutting the foundation sheets to the right size.
The wooden paddle is made from hardwood. We soak it in some water for a couple of hours and then it’s used wet just by placing it in the water. Then removing a bit of the excess water there and then taking it to the wax bath using a sort of a rolling action, once and then rolling it back again twice. Let the excess wax drip off back into the water bath.
There we go, and we can just remove the edge pieces. They have come away. We’re just putting some soap on the roller just to stop the wax from sticking to it so the suds are really good. With the wax sheet in position and start rolling. We just need to grab the other end.
Okay good, there we go there’s another sheet done so we’re going to cut them into the right size now the template goes on and using the knife or even a pizza cutter would be great idea. And you can cut it like so. I didn’t quite cut that one through properly. So here it is, one sheet of beeswax foundation.
That’s all for our video today. We are going to do some more workshops on making the foundation and we encourage our members to come along to the club and have a go. You can bring your own wax and make some foundation to take home.
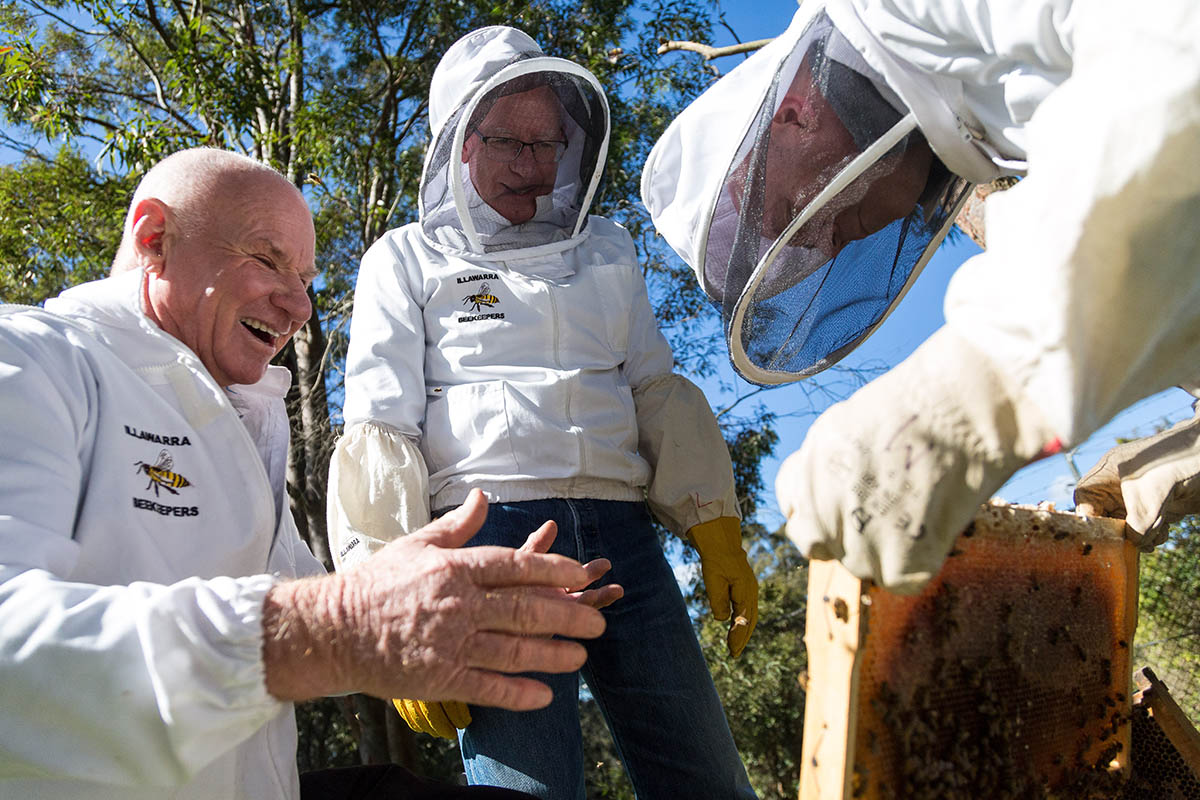
This is another video in a of a number that we have produced for members of the illawarra beekeepers Association and all hobby beekeepers for the management of their colonies over a 12 month period.
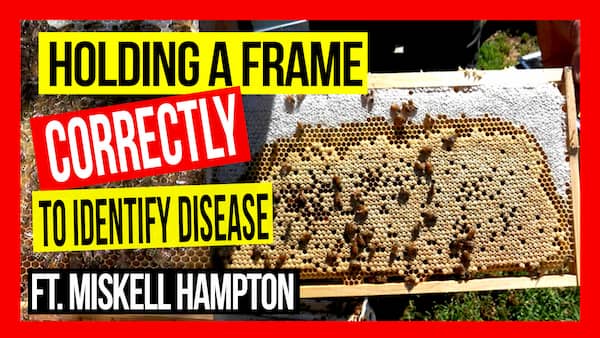
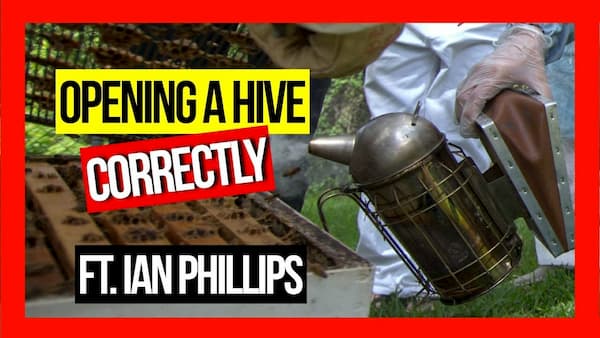
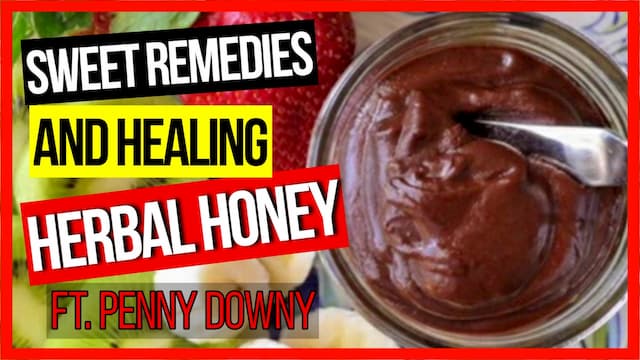
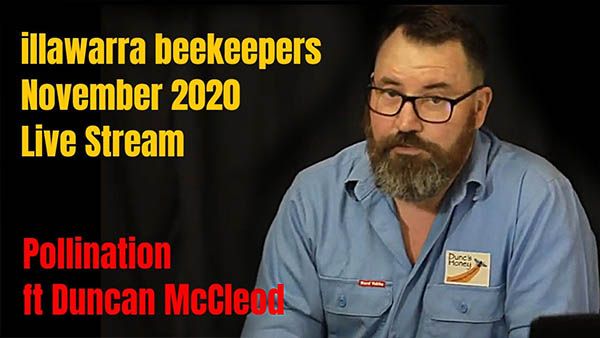
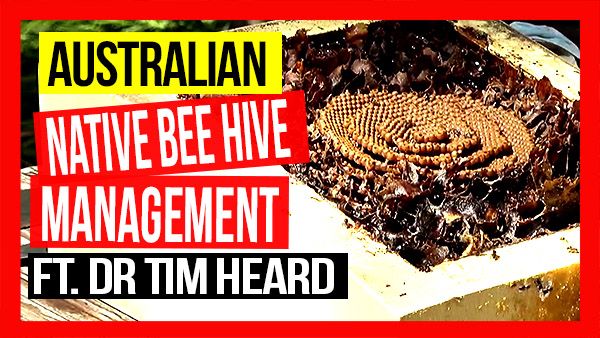
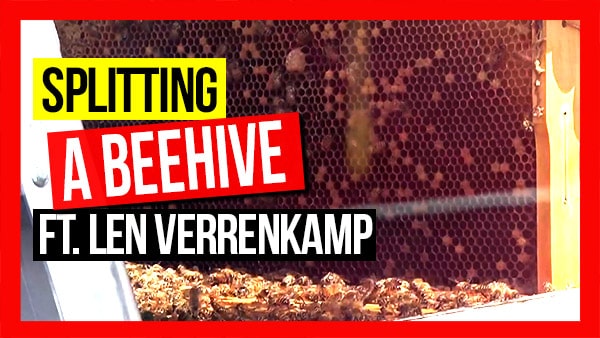
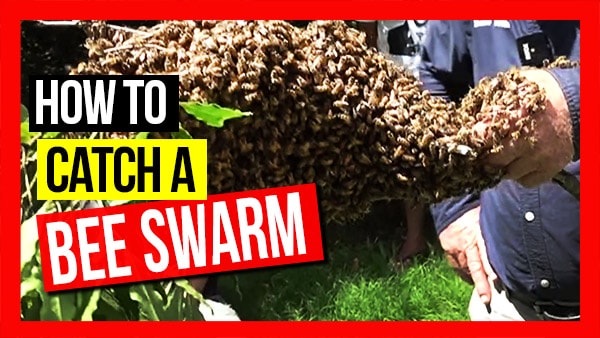
See More Free Beekeeping Videos
We will be adding more beekeeping videos soon. And you can see other videos published already in the links below,


Great job on this article! I’m intrigued with your thoughts on this subject as well as your writing skills. After reading this article, I am able to learn more about Beeswax Foundation